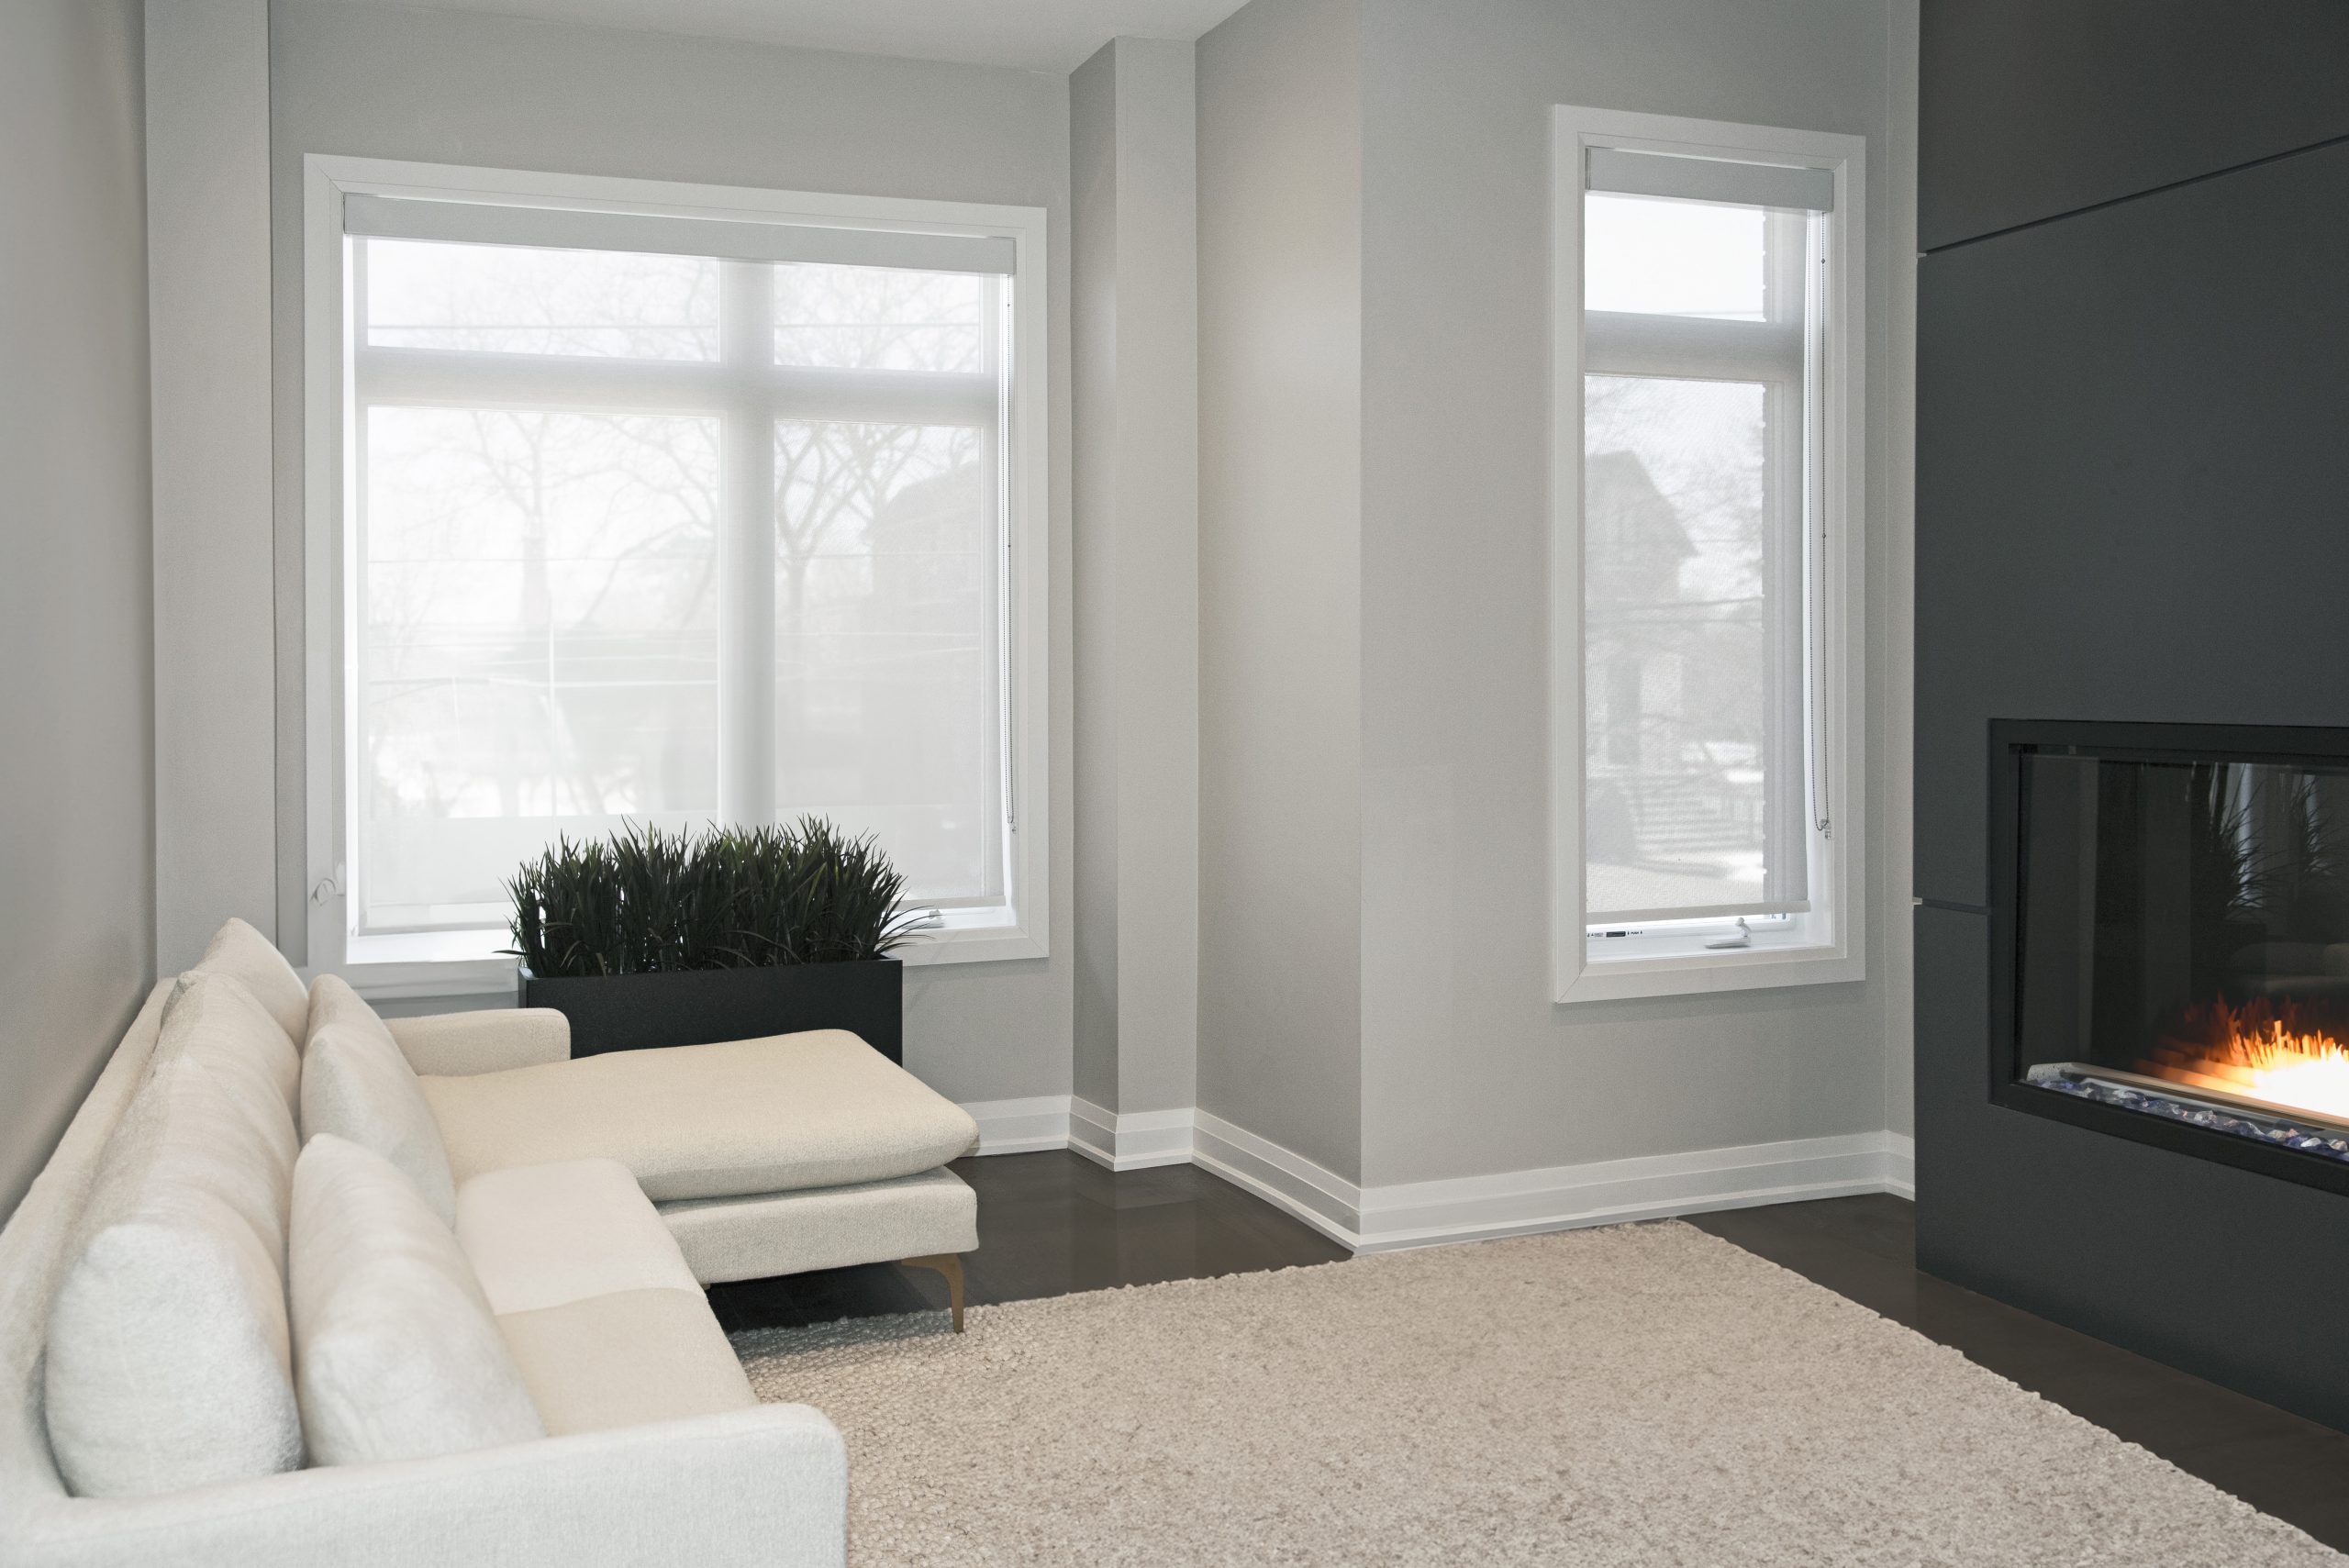
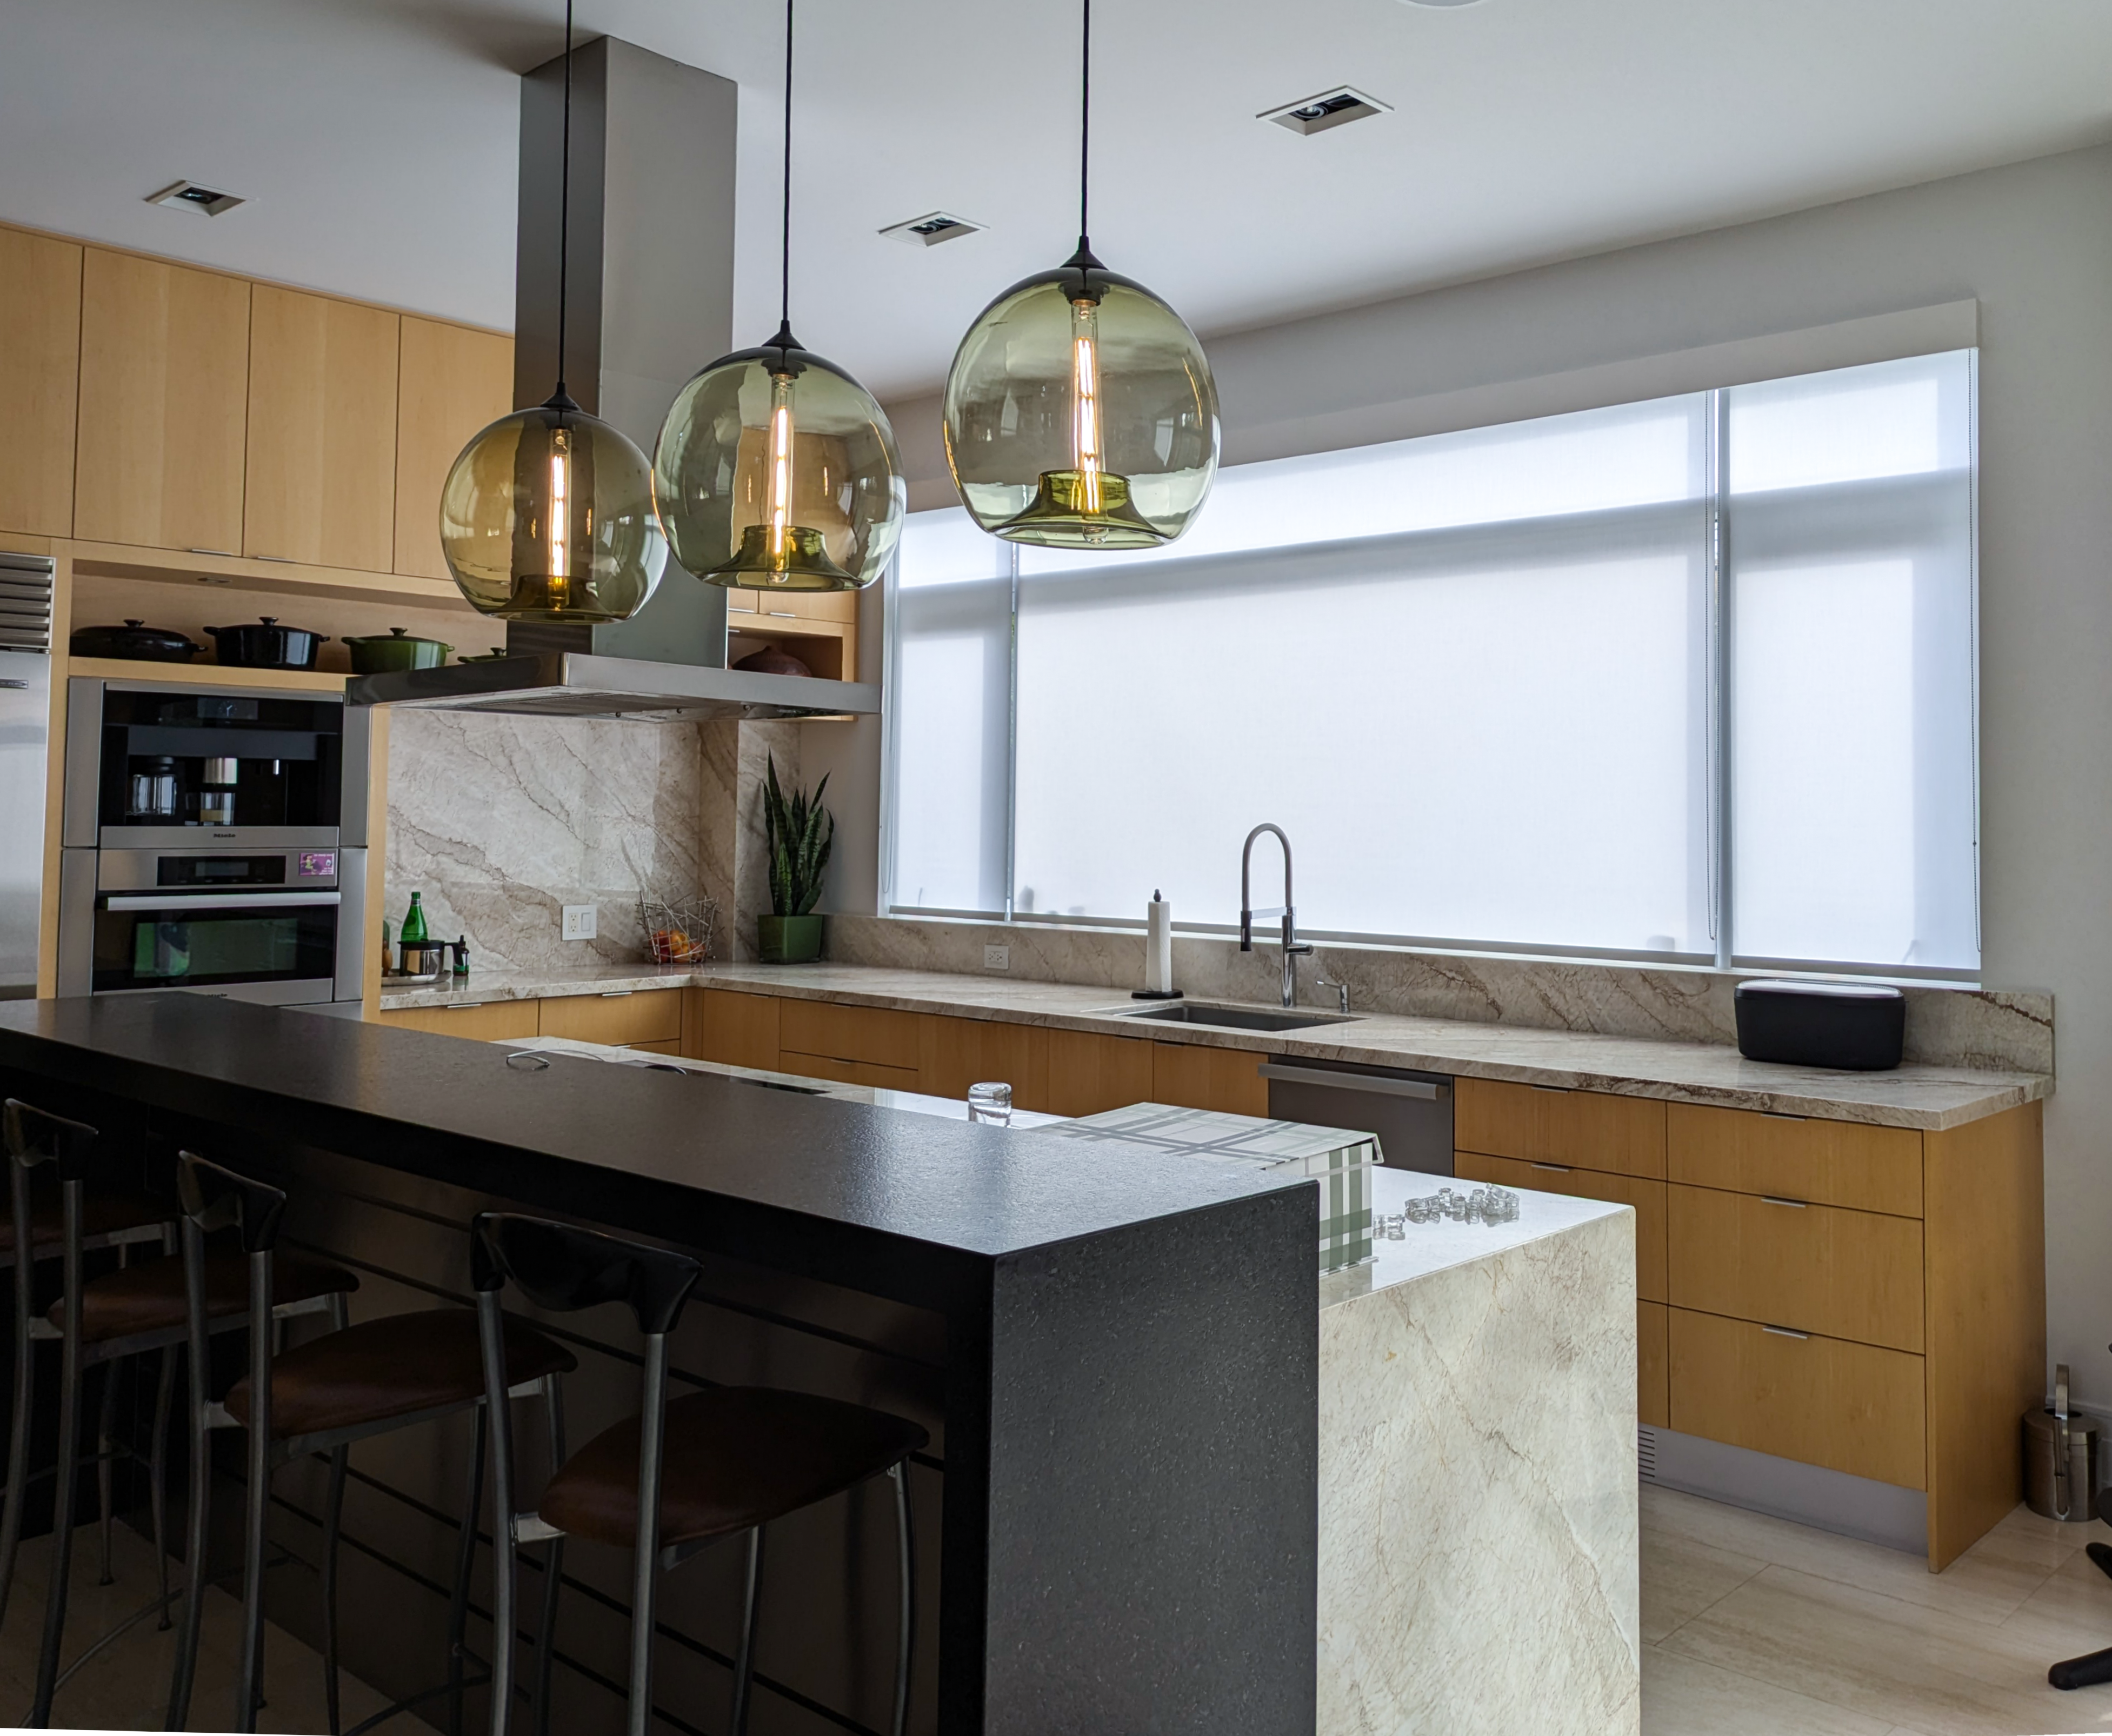
Installing Window Shades? Here’s Exactly How to Do It Right
If you’ve ever tried to install window shades and found yourself holding a drill in one hand and a crooked bracket in the other, you’re not alone. Shade installation can seem deceptively simple—until it isn’t. Whether you’re a homeowner trying to upgrade your space or a seasoned pro looking for a refresh, this guide covers exactly how to install window shades the right way, without cutting corners.
From tools to technique, we’ll walk you through each step to ensure your window treatments not only look amazing, but function flawlessly. Because let’s be real—a sleek roller shade loses all its impact if it’s lopsided.
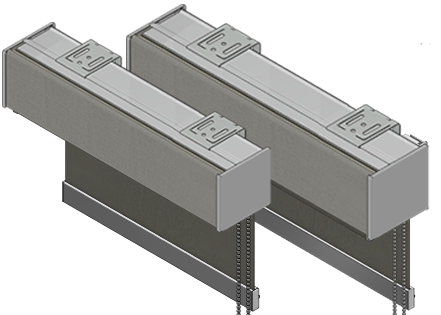
Before anything else—check your shade type. Different systems (like open roll, dual, or motorized shades) can have specific bracket setups, controls, and measurements. For accurate, step-by-step instructions tailored to your product, download the official installation guide for your shade here.
What You’ll Need Before You Start
First and foremost: be prepared. Having the right tools on hand is half the battle. Here’s a go-to list:
- Tape measure (a stiff metal one is best)
- Level (or a laser level if you’re fancy)
- Pencil or chalk for marking
- Power drill and appropriate bits
- Anchors (for drywall or plaster)
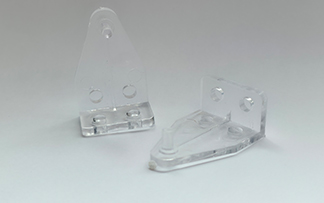
- Mounting brackets and screws (these usually come with your shade)
- Safety goggles (optional, but smart)
Pro tip: Clear the workspace around the window. Remove any obstacles like furniture or decor that might get in the way of your ladder, tools, or your general sanity.
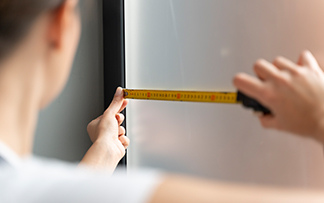
Step 1: Measure Like a Pro
Accuracy is everything. Before you drill a single hole, take detailed measurements.
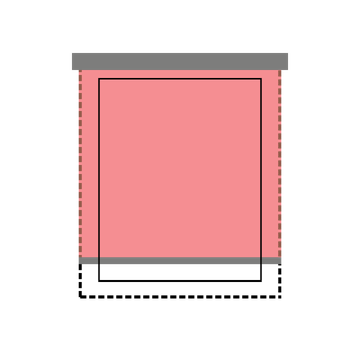
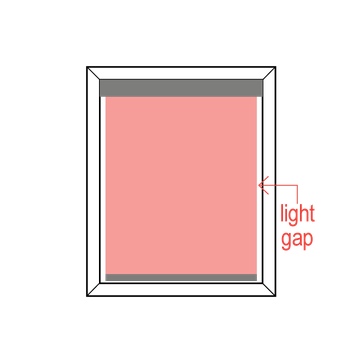
Inside Mount vs. Outside Mount:
- Inside mount sits within the window frame. Clean, modern, minimal.
- Outside mount is attached above or around the window frame. Great for covering trim or blocking more light.
Measure the width, height, and depth of your window frame for inside mounts. For outside mounts, measure how far beyond the frame you want the shade to extend. Don’t assume your window is perfectly square—measure at the top, middle, and bottom.
Tip: For a cleaner process, download our Window Shade Measuring Worksheet to record dimensions, mount type, roll direction, and control placement before installation.
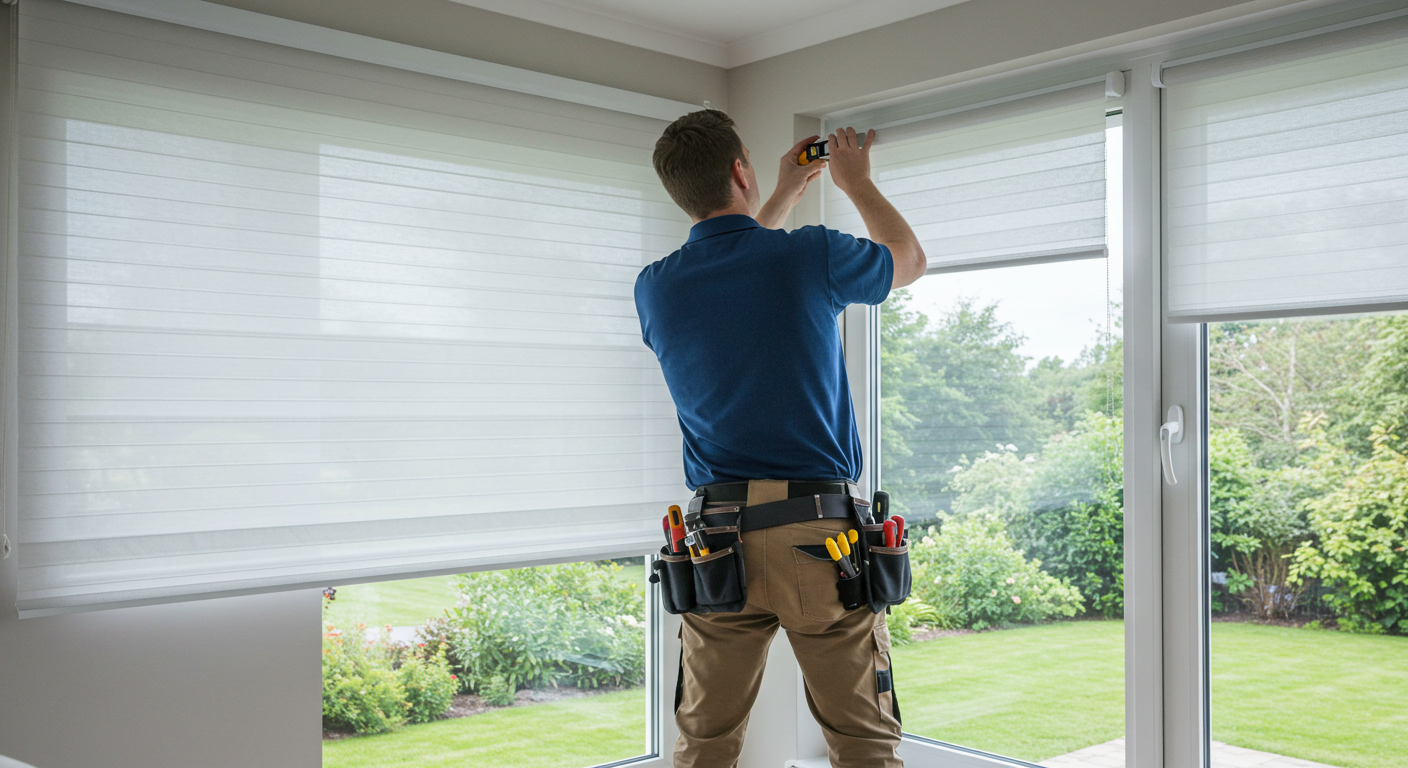
Step 2: Mark Your Mounting Points
Now that you know where your shade is going, mark the bracket positions using a pencil. Use a level to make sure everything lines up. If you’re working on multiple windows, it’s worth measuring from the ceiling or floor to ensure consistency from one shade to the next.
This is also when you determine if you need anchors. Drilling into drywall? Anchors are your best friend. Into wood? You’re good to go.
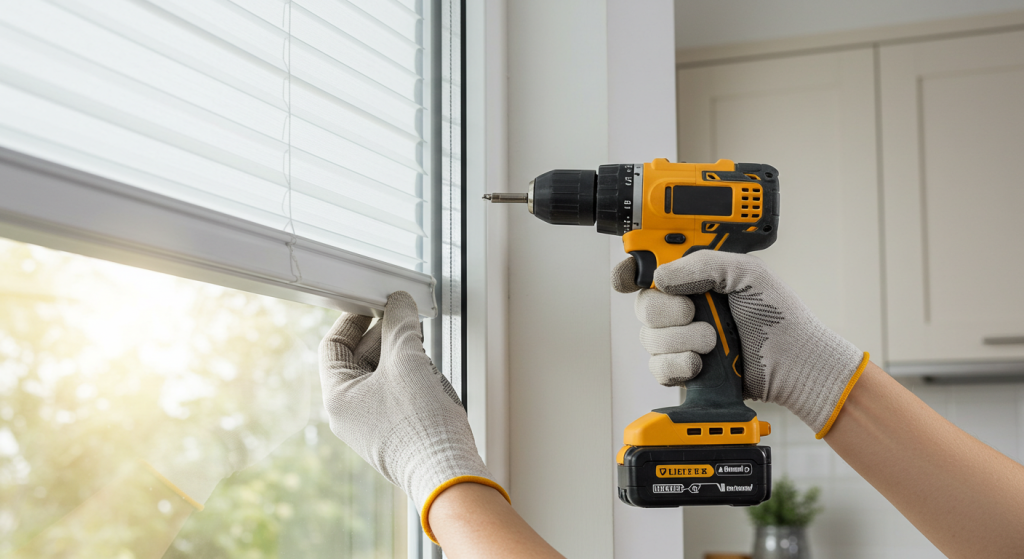
Step 3: Install the Brackets
Drill pilot holes first—they help guide the screws and reduce the risk of cracking or stripping. Use the appropriate bit for your wall type (drywall, plaster, tile, or masonry).
Then, mount the brackets securely. Don’t overtighten, especially if you’re working with plastic hardware. Check that everything is flush and level.

Still with us? You’re halfway through how to install window shades with confidence.
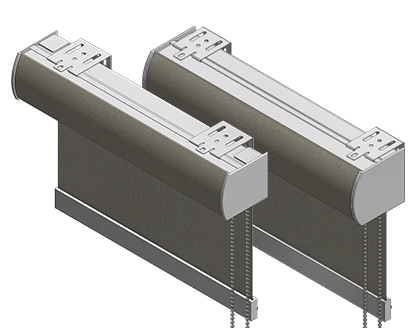
Step 4: Attach the Shade
Snap or slide the roller, cassette, or headrail into the brackets based on the hardware design. You’ll usually hear a satisfying click or feel it lock in place. If your shade has a chain or pull cord, make sure it’s on the correct side (unless you want to reach over furniture every morning).
Double-check alignment. Raise and lower the shade a few times to test function. It should glide smoothly—no sticking, no tilting.
Step 5: Add Accessories or Finishers (Optional but Worth It)
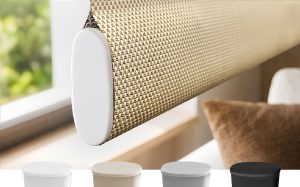
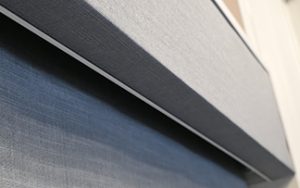
Want a cleaner, designer-style look? Add a fascia or cassette. These cover the roller mechanism and elevate the entire aesthetic of the window.
Step 6: Motorized Shade Setup (If Applicable)
If you’re installing motorized window shades, follow the manufacturer’s pairing instructions. Systems like Somfy or Stealth Automation often require syncing a remote or app setup. You’ll also want to ensure access to a power source or confirm battery levels for rechargeable systems.

Want to know more about this setup? Read our blog on how smart shades work and save energy.
Final Tips for a Flawless Install
- Always double-check your measurements before drilling.
- Use a laser level for tricky or large window spans.
- If you’re not confident with tools, it’s totally okay to call a professional.
- Take your time—a clean install is better than a rushed one.

When in Doubt, Let the Pros Handle It
If you’re working with oversized windows, unique architecture, or just want the peace of mind of a perfect finish—Sun Glow’s professional installation team has your back. We’ll make sure your shades are installed cleanly, level, and without damage to your walls or trim. Book our expert installation service and skip the stress.

The Wrap-Up
Knowing how to install window shades properly gives you more than a nice view. It ensures your investment lasts, works properly, and looks every bit as polished as you imagined.
A little patience goes a long way. Get the measurements right, follow the plan, and enjoy the upgrade. If you ever get stuck? You know where to find us.